
Have you ever dreamed of turning a pile of metal, silicone, and wires into a dazzling machine that powers your digital world? It might sound like something out of a sci-fi novel, but with today's advanced yet accessible technology, building your own computer is like crafting your personal technological masterpiece. Whether you're an ardent tech enthusiast, a curious student, or someone exploring new hobbies at home, understanding how to build a computer can be profoundly enlightening and empowering. Now, let's embark on this scientific exploration and learn how homebuilt computers—those crafted not in corporate factories but in our very own kitchens and garages—are reshaping how we engage with technology right from the grassroots!
Why Build Your Own Computer?
Imagine knowing your computer like the back of your hand. That's the ultimate promise of a homebuilt computer. By constructing it yourself, you gain an intimate understanding of how each component contributes to the whole. This knowledge isn't just satisfying on an intellectual level; it's also immensely practical. When something goes wrong, you'll have a keen insight into diagnosing the problem, often saving time and money on repairs.
Building your own computer also affords an array of customization options. Do you crave a high-performance gaming rig that can handle the latest AAA titles? Or maybe a sleek machine tailored for graphic design and video editing? With a custom PC build, your possibilities are as limitless as your aspirations.
The Essential Components
At first glance, the world of computer components can seem overwhelming, like staring at a blueprint for a spaceship. Let's break it down piece by piece, shall we?
1. Central Processing Unit (CPU)
The CPU is the brain of your computer, handling all the processing tasks. It's vital to choose a processor that matches your needs, whether you opt for Intel or AMD—two titans of modern CPU manufacturing.
2. Motherboard
Consider the motherboard as the nervous system of your PC. It connects all the hardware to the CPU. Make sure it's compatible with your processor and has slots for all the peripherals you might need.
3. Random Access Memory (RAM)
Think of RAM as your computer's short-term memory. More RAM allows your machine to handle more tasks simultaneously. For gaming or professional software, 16GB or greater is ideal.
4. Graphics Processing Unit (GPU)
For gamers and content creators, a capable GPU is crucial; it’s responsible for rendering images and videos. While integrated graphics suffice for basic tasks, a discrete graphics card is essential for more intensive applications.
5. Storage: HDDs vs. SSDs
HDDs (Hard Disk Drives) offer large storage capacities, but SSDs (Solid State Drives) deliver speed with faster boot and load times. For most builds, a combination can be the best of both worlds.
6. Power Supply Unit (PSU)
Every component requires power, and a reliable PSU ensures they get it adequately. Opt for a reputable brand with a wattage that supports your setup.
7. Computer Case
The case houses all your components, providing not just aesthetics but also airflow and expansion options for future upgrades.
The Building Process
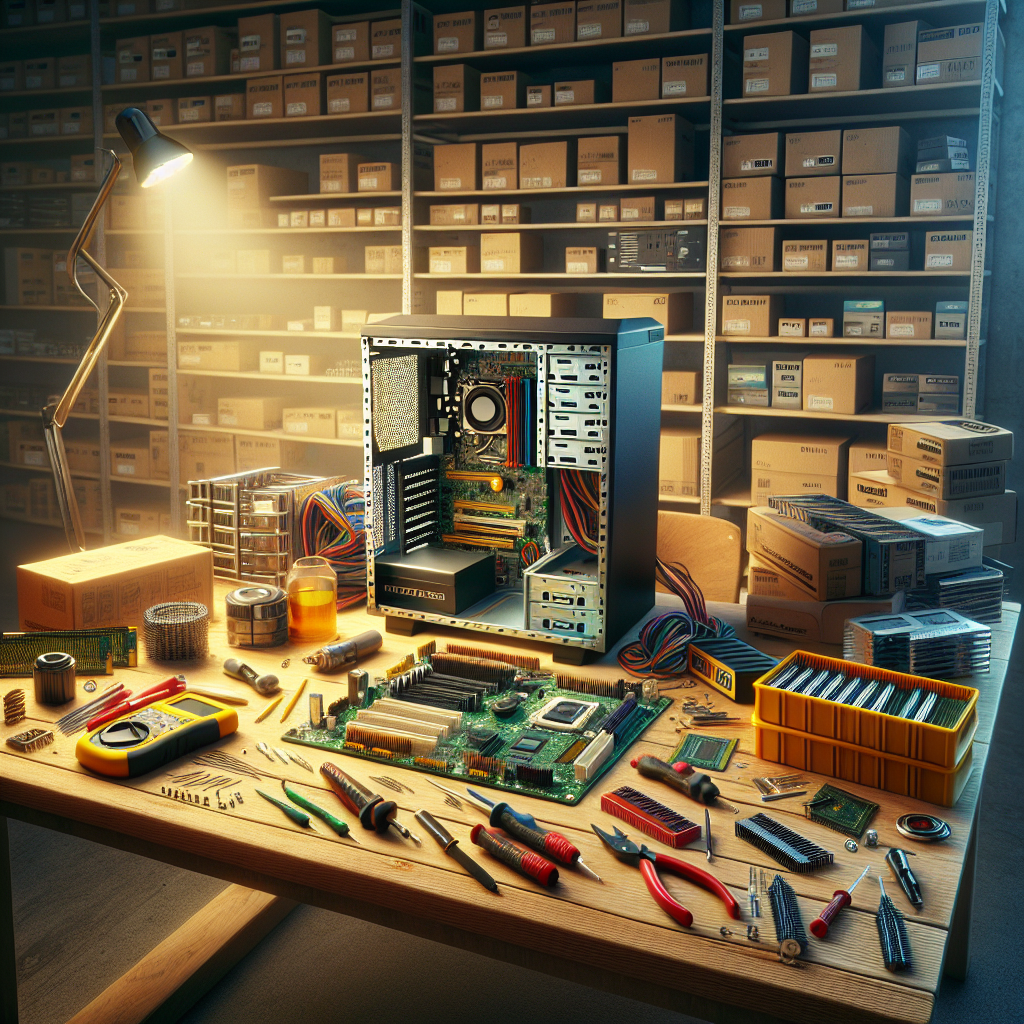
Building a computer is like assembling a jigsaw puzzle—every piece has its place. To begin, you need the right tools: a screwdriver, anti-static wristband, and a comfortable workspace.
Step 1: Setting the Motherboard
Place the motherboard onto the system case, securing it with screws. Remember to follow the motherboard manual for proper alignment and installation.
Step 2: Installing the CPU and RAM
Handle the CPU with care, aligning it properly with its socket before fastening it, followed by inserting RAM sticks into their respective slots with gentle pressure until they click.
Step 3: Attaching the PSU and Storage Drives
Mount the PSU, and connect it to the motherboard and other components. Install storage drives into their bays and attach necessary cables.
Step 4: Inserting the GPU
For most, the GPU goes into the PCI Express slot on the motherboard. Ensure it's securely fastened and connect any requisite power cables.
Step 5: Final Connections and Testing
Once all components are installed, connect peripheral cables and power up your build. Enter BIOS to confirm everything is recognized and proceed to install your Operating System.
Future of Homebuilt Computers
The joy of building a computer doesn't stop at completion. Technology constantly evolves, offering endless potential for upgrades and customization. As artificial intelligence, virtual reality, and sophisticated software broaden the horizons of what's possible, your homebuilt computer can evolve alongside, adapting to future trends and innovations.
Conclusion
Building a home computer is more than just assembling hardware—it's a journey of learning and self-discovery. Every component you choose, every screw tightened, contributes to a greater understanding of the technology that rules our lives. It encourages not just consumption, but also innovative interaction with technology. So, whether you choose to build your first computer as a challenge, a teaching tool, or simply to create your perfect personal machine, remember that you're not just a consumer of technology, but a creator. Let's pledge to embrace this optimistic, scientific spirit and continue crafting our very futures!